
APIs power modern web and mobile applications—allowing services to communicate, share data, and deliver seamless user experiences. To build, test, and document APIs efficiently, developers rely on tools like Swagger (OpenAPI) and Postman.
Swagger excels at API design and documentation, while Postman shines for manual testing, automation, and collaboration. In this guide, we’ll walk through how to import Swagger APIs into Postman, enabling you to validate endpoints, define test suites, and share your API workflow across teams.
More Read: Best Practices for Documentation Version Control in 2024
1. What Is Swagger (OpenAPI)?
- Swagger/OpenAPI is the industry-standard specification for describing RESTful APIs. A Swagger definition uses YAML or JSON to define endpoints, parameters, request/response schemas, authentication methods, and more.
- These specifications enable auto‑generated interactive documentation (e.g., Swagger UI), client SDKs, and powerful testing tools.
Core components of a Swagger file:
openapiversion (usually 3.0.0)infometadata: title, version, descriptionserversand base URLspathswith HTTP methods (GET, POST, etc.)- Parameters, request bodies, and response schemas
- Security definitions (e.g., OAuth2, API keys)
2. What Is Postman?
Postman is a popular API platform designed for:
- Testing APIs manually or automatically
- Documenting API endpoints interactively
- Collaborating via shared workspaces
- Automating test suites with scripts and CI/CD integration
By importing your Swagger/API definition into Postman, you can:
- Instantly create a runnable “collection” of API calls
- Run, debug, and document endpoints
- Save and version your API tests
- Export and share collections with colleagues
3. Why Import Swagger APIs into Postman?
Integrating Swagger with Postman offers major advantages:
- Accelerated API testing – skip manual setup of individual requests
- Consistency – Postman honors Swagger-defined structure, parameters, headers, and example responses
- Improved collaboration – share imported collections directly with stakeholders
- CI/CD integration – run collections via Newman or pipelines for regression testing
4. Preparing Your Swagger (OpenAPI) Definition
Before importing, ensure your API definition file is:
- Valid: No syntax errors in YAML or JSON
- Complete: Includes all endpoints, info, and server details
- Accessible: Hosted online (public URL) or saved locally (
swagger.yaml/swagger.json)
Tip: Use the Swagger Editor to validate your definition and render documentation.
5. Step 1 – Get Postman (if you don’t already have it)
- Visit postman.com.
- Download the version compatible with your OS (Windows, macOS, Linux).
- Install the app and create or sign into your Postman account.
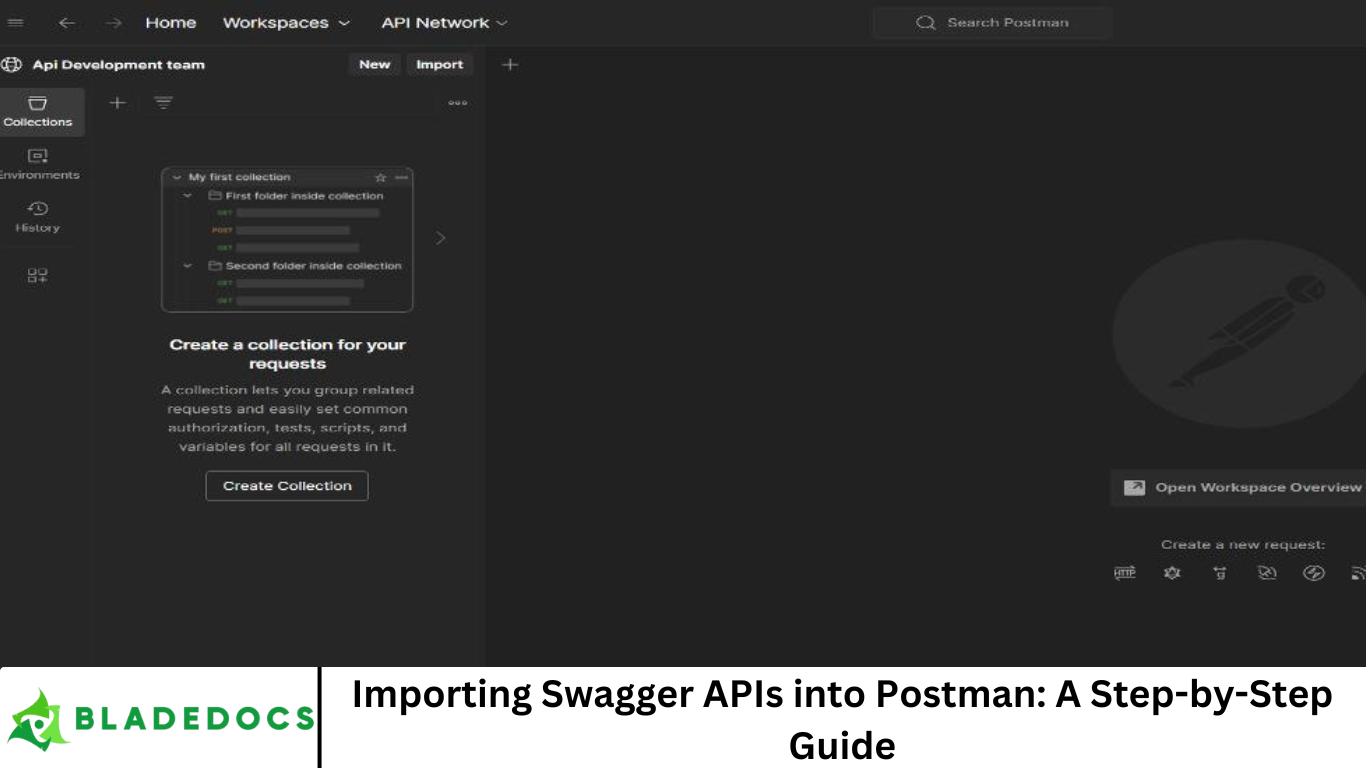
6. Step 2 – Launch Import Menu
- Open Postman.
- Click “Import” (top-left corner).
- Choose between:
- Link – for hosted swagger URL
- File – for local
.yaml/.json file - Raw text – paste your definition directly
7. Step 3 – Import Your Swagger/OpenAPI File
- For online definitions: paste the URL and click Import.
- For local files: select the
.yamlor.jsonfile. - For pasted raw text: choose Raw Text, paste content, and import.
Once imported, Postman parses the definition and generates a new collection of all API endpoints.
8. Step 4 – Inspect the Generated Collection
After import, Postman creates a collection representing your API:
- Folders mirror tags or resource groupings (if defined)
- Each request includes:
- HTTP method, endpoint URL (with variables)
- Query path parameters
- Headers (like
Content-Type) - Request body structure
- Example responses (if present)
Double‑check:
- All endpoints are present
- Schema and authentication settings match your API definition
9. Step 5 – Set Up Environment Variables
Swagger definitions often use {{base_url}} or environment variables. To configure:
- Navigate to Environments → Manage Environments
- Create environment (e.g., “Development”)
- Add key
base_url, valuehttps://api.example.com - Save and select the environment from the top‑right dropdown
Now requests correctly resolve using {{base_url}}.
10. Step 6 – Test a Request
- Expand your collection and choose an endpoint (e.g.,
GET /users) - Click Send
- Inspect response:
- Status code (200, 404, etc.)
- Response body (JSON/XML)
- Headers (Content-Type, etc.)
- Validate against Swagger’s schema and examples
11. Step 7 – Add Tests and Scripts
Postman allows automation via scripts:
- Under Tests tab: javascriptCopyEdit
pm.test("Status code is 200", () => pm.response.to.have.status(200)); pm.test("Response time < 200ms", () => pm.response.to.be.withinTime(200)); - Use Pre-request Scripts for variable setup: javascriptCopyEdit
pm.variables.set("timestamp", new Date().getTime());
You can even chain requests by storing responses (like tokens):
- First call login → capture token: javascriptCopyEdit
pm.environment.set("authToken", pm.response.json().token); - Use it in headers:
Authorization: Bearer {{authToken}}
12. Step 8 – Grouping and Documentation
- Add descriptions at folder or request level.
- Customize examples for request/response payloads.
- Use Markdown in descriptions to improve readability.
Example:
markdownCopyEdit### Get Users
Retrieves a paginated list of users.
Example request:
```http
GET /users?page=1&limit=50
yamlCopyEdit
When published or shared, Postman’s documentation page will reflect these enhancements.

---

## 13. Step 9 – Sharing and Publishing

- **Share collections** directly with colleagues via Postman link.
- **Publish documentation**: Public or private, viewable via a web interface.
- **Export JSON**: `… → Export` to share/import across teams or pipelines.

---

## 14. Step 10 – Automate Tests with CI/CD

1. Export collection as `collection.json`
2. Install Newman:
   ```bash
   npm install -g newman
- Run collection: bashCopyEdit
newman run collection.json -e environment.json - Integrate into CI tools:
- GitHub Actions
- GitLab CI
- Jenkins, CircleCI, Travis
15. Pro Tips
- Leverage Swagger’s examples – they seamlessly import into Postman.
- Use collection chaining – set up workflows with authentication and dependencies.
- Use monitors – schedule automated checks.
- Version‑control JSON files – sync with your API repo (Git, SVN).
16. Common Issues and Fixes
| Problem | Solution |
|---|---|
| YAML parse error | Validate in Swagger Editor; fix syntax issues. |
| Missing base_url | Update servers in Swagger or set environment variable. |
| Authorization not working | Ensure first call (login) sets token; include Authorization header. |
| Schema mismatch in request/response | Sync definition; use Validate Response feature in Postman. |
17. Recap of Benefits
- Rapid setup – instant API endpoints in Postman
- Consistency – Swagger schema → test suite
- Automation-ready – leverage scripting and CI integration
- Team-friendly – easy collaboration, live sharing, documentation
Frequently Asked Question
What is the difference between Swagger and Postman?
Swagger (now known as OpenAPI) is a specification for defining REST APIs, while Postman is a platform for testing, documenting, and automating APIs. Swagger is mainly used for API design and documentation, whereas Postman is ideal for interacting with and testing those APIs.
Can I import both Swagger JSON and YAML into Postman?
Yes. Postman supports importing Swagger files in both JSON and YAML formats. You can upload the file directly, paste the raw content, or provide a public URL to your Swagger definition.
How do I fix errors when importing a Swagger file into Postman?
If Postman fails to import your Swagger file:
- Validate the file using Swagger Editor
- Check for missing fields like
openapi,info, orpaths - Ensure all endpoints and components are correctly formatted
- Convert YAML to JSON if Postman has trouble parsing the YAML
Does Postman support Swagger 3.0 (OpenAPI 3.x)?
Yes. Postman fully supports OpenAPI 3.0+ as well as Swagger 2.0. However, some advanced OpenAPI 3 features (like callbacks) may have limited compatibility in certain Postman versions.
Will importing a Swagger file into Postman automatically create a working collection?
Yes. Postman will generate a collection of requests based on your Swagger definition. Each endpoint will be configured with its method, parameters, body, and examples—saving you time setting up requests manually.
Can I update my Postman collection if my Swagger file changes?
Not automatically. You will need to re-import the updated Swagger file. However, Postman will prompt you to overwrite or create a new collection, giving you control over how the update is applied.
Is it possible to automate Swagger-based API tests in Postman?
Absolutely. After importing your Swagger API, you can:
- Write tests in Postman’s scripting interface
- Use Newman (Postman’s CLI) to run tests
- Integrate tests into CI/CD pipelines like GitHub Actions or Jenkins
Conclusion
Importing Swagger APIs into Postman streamlines testing, debugging, and documentation workflows. Following this step‑by‑step guide, you’ll be set up for continuous API delivery—from design to implementation, testing, and sharing. Let me know if you’d like examples (e.g., OAuth2 login flow), sample environment files, or CI/CD integration templates!